Posted on 6 Comments

Latest Photoshop Update Breaks GrutBrushes Plugin on Mac – (Update: Its Fixed now!)

Update 2 – 2019:
The plugin is working again! If your GrutBrushes plugin stopped working after you updated Photoshop. Uninstall it (instructions here) and then re-install it and it will work (you can download the latest version from your downloads tab in your account or get it here if you never had it)

Update 1 (23 Oct 2018): The problem seems to be affecting Mac only. I have been able to confirm that the GrutBrushes plugin still works on all 3 updates to Photoshop CC v20 that I’ve seen so far on Windows

Original Post (18 Oct): It seems the latest Photoshop update is not compatible with the GrutBrushes plugin and will cause it to stop working. The brushes still work of course, the problem is just with the plugin. I have written to my plugin developer to see if they can help, but until then it looks like updating to the latest version of Photoshop will disable the GrutBrushes plugin. Re-installing it does not seem to fix it.

I have written to my plugin developer to see if they can fix it and I will let you know here as soon as I hear back. In the meantime, be aware that if you update Photoshop to the latest version, you will lose access to the GrutBrushes plugin! (Your settings should still be there and I hope they will return if I can get the plugin working again)

If you want to keep the old version of Photoshop installed as well as the new one you can uncheck the “remove old versions” box when updating. This will install the new version and keep the old one installed.

Keep in mind this means you will have two separate versions of Photoshop on your computer,
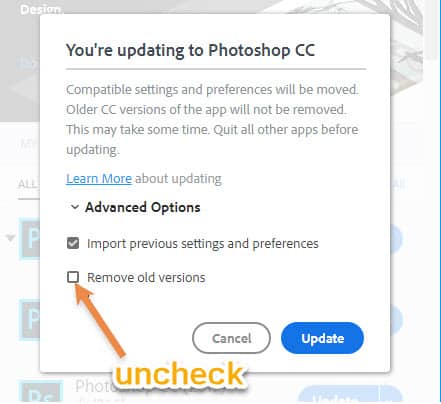
Uncheck this box to keep 2 versions of Photoshop on your computer

You also have the option of re-installing older versions of Photoshop from the Adobe Creative Cloud app:

you can re-install older versions of Photoshop


if you have already upgraded and don’t want to install the previous version you will have to access the brushes from the Tool Presets panel.

I’m very sorry for this but I had no idea Adobe would be doing this. I hope I can find a solution soon. Stay tuned. I will update you here as soon as I hear.

Facebooktwitterredditpinterestlinkedinmail
Posted on Leave a comment

Procreate Brushes Are Here!

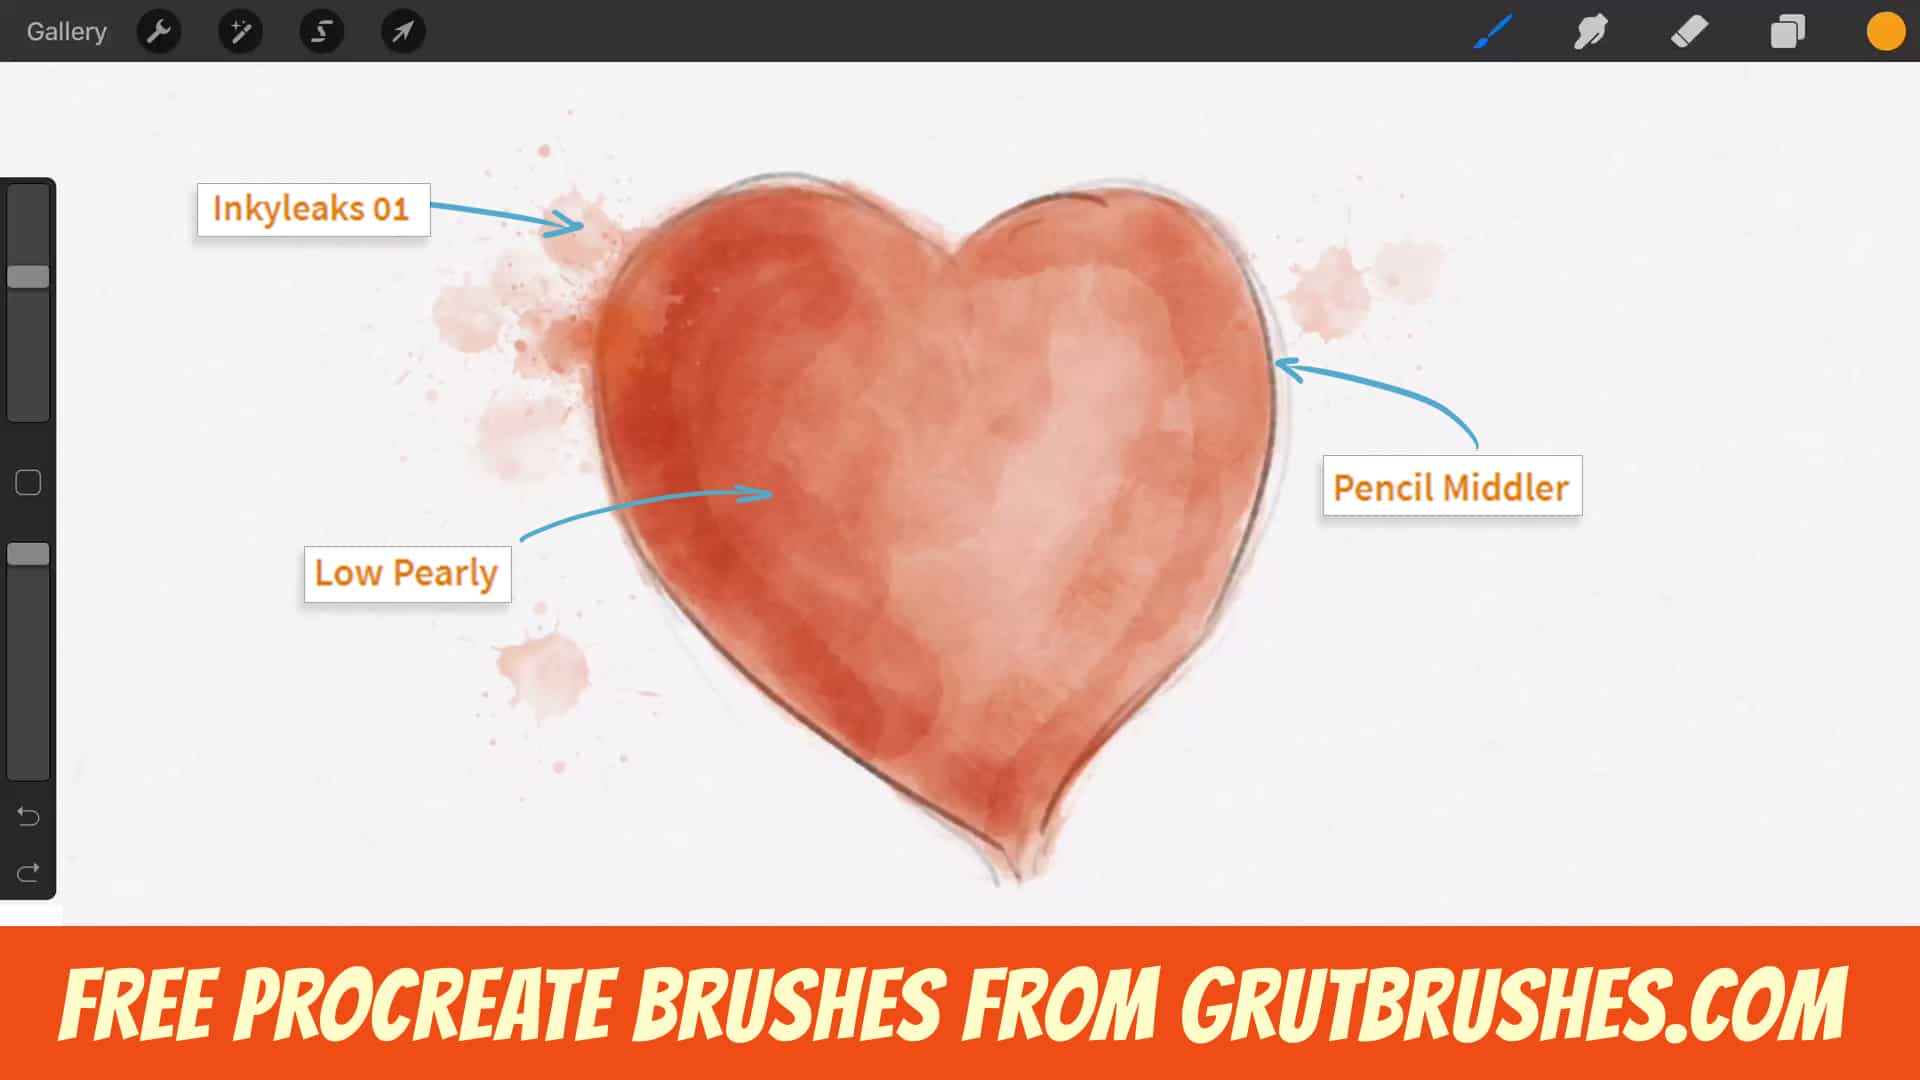
download free Procreate brushes from GrutBrushes

The first Procreate GrutBrushes are now available with many more to come. You can buy Procreate Unlimited for a bargain right now
It’s just $10 today but it will go up as more brushes are added! You will get access to download all the Procreate brushes published in the next 6 months.

Once there are enough of them, I will start bundling them into sets (inks, pencils, watercolours, etc) but until then, purchasing GrutBrushes Procreate unlimited is the only way to get them for now

Even though there are some similar brushes (I will try to reproduce some favourites) These are not the Photoshop brushes converted, these are ALL NEW exclusively Procreate.  (If I could convert them, there would be a lot more than just 25 to start with)

You can “try before you buy” with the free Procreate brushes available as well. Install them right onto your iPad from the web page!

Continue reading Procreate Brushes Are Here!

Facebooktwitterredditpinterestlinkedinmail
Posted on 5 Comments

How to Export Multiple Photoshop Brushes as a Single TPL (to Import into Artstudio Pro)

Q: Can I use GrutBrushes on an iPad Pro?
A: Yes!

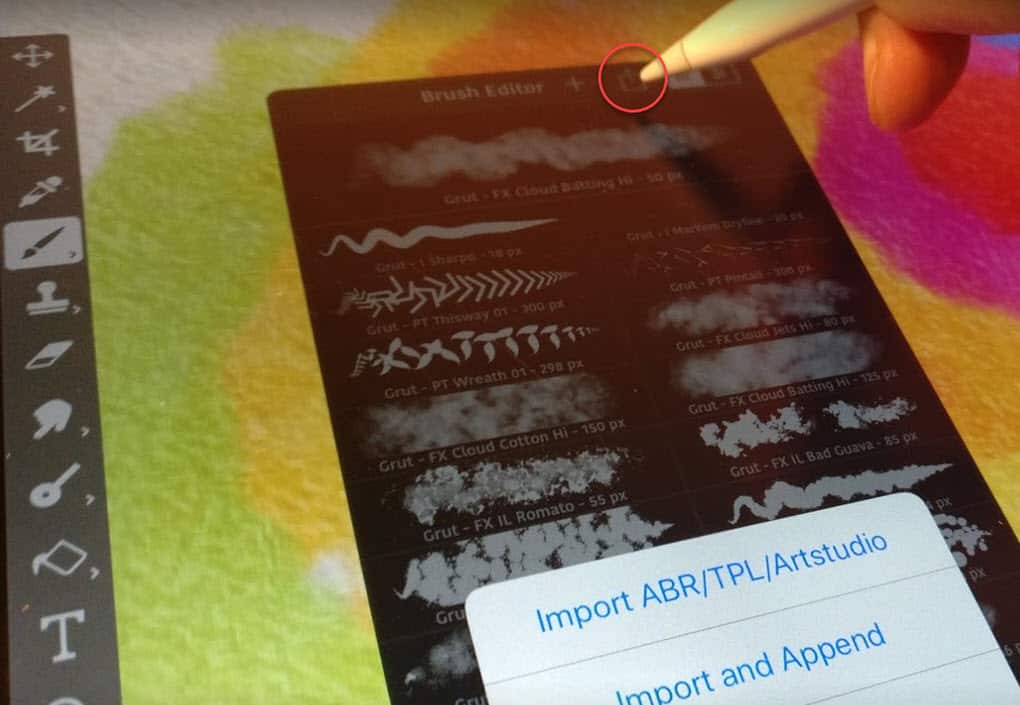
I get this question almost every day now and while I don’t have any proper documentation for it yet, you can import GrutBrushes TPL files into both Artstudio Pro (I love this app!) and Adobe Sketch apps

You can import any of the GrutBrushes TPLs right now, but you probably don’t want to import them one at a time. So, in this super-quick video tutorial I show you how to export a batch of TPL brushes into one file all at once. That way you can just upload that single TPL containing all your favourite GrutBrushes to DropBox, iCloud or whatever you use to get files onto your iPad.

Once you have it in the cloud you can import it into Adobe Sketch or Artstudio Pro (shown below) Someday I hope to make a video tutorial showing the whole process, but until then, both apps do currently have information in their documentation on how to import Photoshop brushes so have a look around.

Importing Photoshop Brushes (TPL) into the Artstudip Pro app on the iPad Pro

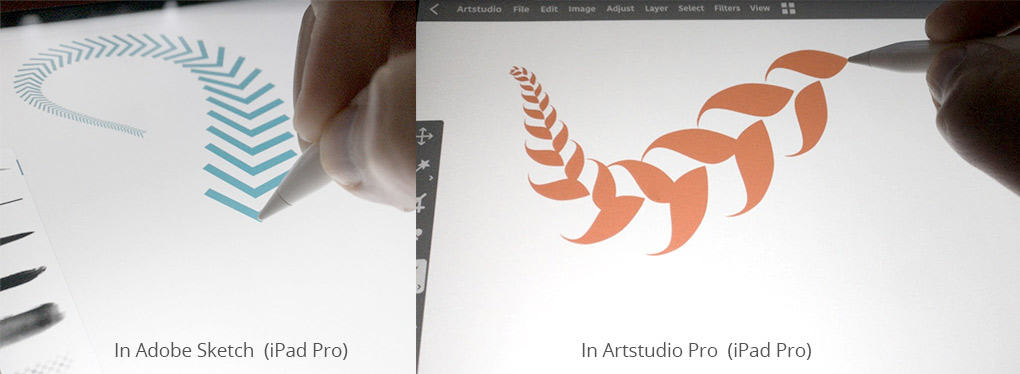
Here I am using the GrutBrushes pattern brushes on the iPad pro! Using GrutBrushes with the Apple Pencil is a dream.

GrutBrushes pattern brushes work in ArtStudio Pro and Adobe Sketch on Ipad ios
GrutBrushes can be imported into ArtStudio Pro and Adobe Sketch on th  iPad Pros


…and no, sorry, you can’t use these GrutBrushes in Procreate! It has it’s own wonderful brush format but it can’t import Photoshop brushes. UPDATE: Procreate GrutBrushes are now available! They are not the same as the Photoshop brushes but I think you’ll like them just as much

There are dozens of  apps that claim to be able to import Photoshop brushes but what most of them mean is that they can import the tip shape, but that’s just the most visible but probably the least important feature of a good digital brush.

GrutBrushes are all about the dynamics…HOW the brush behaves, not what it’s brush tip shape looks like.

Unless an app imports all the brush dynamics it’s really not importing the brush.

Adobe Sketch and Artstudio Pro are currently the only apps that can import GrutBrushes Photoshop brushes. If any new apps come along that claim to be able to import Photoshop brushes and all the brush dynamics please let me know, I’ll be the first to buy it and test it out.

Facebooktwitterredditpinterestlinkedinmail
Posted on 8 Comments

How to Make a Photoshop Brush/Eraser toggle switch on your Stylus

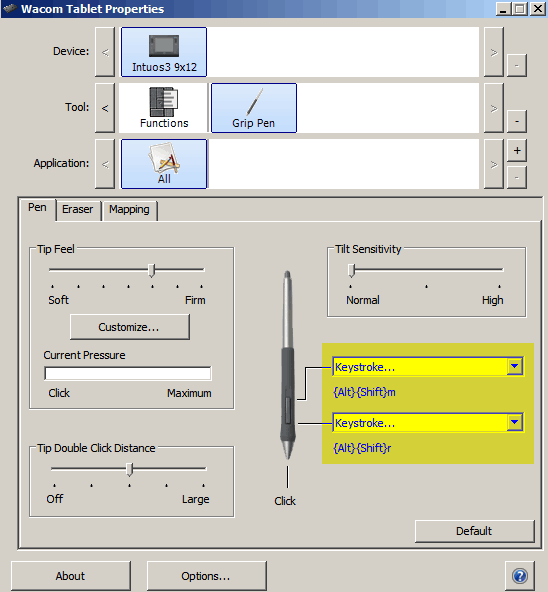
1. Open Tablet Properties
2. Change one of the buttons to ‘erase’

Now when you are in brush mode and you hold down that button on your stylus, your brush will temporarily turn into an eraser! Just release it to return to brush mode and keep painting.

The temporary eraser will have the same settings as the last eraser you used

BONUS TIP: To do this without changing your preferences, just press and HOLD the “e” key to erase temporarily. Keep holding the “e” key until you are done erasing, then when you lift your stylus and then release the “e” key your tool will switch back to the brush tool!

I know you can flip the stylus over and erase, but why interrupt your flow when you can just press on a button?

BONUS TIP 2: Digital artist SyntheticGeek added this great tip for Wacom tablet users:

“I add Keystroke Modifiers to my Wacom Stylus buttons so I can more quickly use ANY brush preset as an eraser. One button to change it to a “Clear” GrutBrush and one to change it back. “Alt + Shift + R” will change it to a Clear (erasing) GrutBrush and “Alt + Shift + M” will take it back to “Multiply”.

NOTE; Not all GrutBrushes’ painting opacities are set to Multiply as their default, some are set to Normal, which would be “Alt + Shift + N”. (for Mac users Alt = “Option”). You can always just tap the brush preset again in the GrutBrushes Tool Panel. That way, you don’t have to wonder if its default was Normal, Multiply or Whatever. “

How to make a custom button that turns your Photoshop brush into an eraser


You could adapt it to any tablet or hardware that allows custom keyboard commands to be programmed to a button


Facebooktwitterredditpinterestlinkedinmail
Posted on 5 Comments

Testing the ‘Meko’ Paper Texture in Photoshop (Video)

Here I am testing one of the Art Surfaces (Meko). Notice how it adds light as well as shadow.

That’s one of the hardest parts to tweak (the distribution of values between light and dark)

It’s difficult to get a good gradient ramp when the details are so fine. It’s much easier to deal with course textures like a gravel road than something that is mostly one tonal value like paper. Too much contrast and you won’t be able to see anything you paint on it, too little and you don’t get any surface definition

While working in 16 or 32 bits per channel would give me more flexibility in tweaking these but these templates are already so large a higher channel bit rate would be impractical. They are already averaging about 85 megabytes per PSD.  They are seamless tiles, but they start at 2048 by 2048 pixels, at 300 DPI.

To learn more, try a free one and get on the list to be notified when they’re available go to the new paper textures page

A question for you – what would you pay for one of these and what would you pay for 10 of them? Let me know in the comments.

Facebooktwitterredditpinterestlinkedinmail
Posted on 2 Comments

Adobe update breaks brush-to-eraser-tool hack Here’s a workaround

UPDATE 2020:  Simplest method of all…while painting, hold down the TILDE key: ` (usually at the top left of your keyboard while you are painting and your brush will turn into an eraser, with all the same properties, as long as you hold it down)

If, like me, you loved being able to select any tool (usually the eraser) and then pick from your most recent brushes to convert a paint brush to an eraser, or a mixer brush, or a smudge tool with all dynamic setting intact you can’t do this anymore with the latest Photoshop update (v 19) You can still use the clear mode trick to convert your brush to an eraser which I go over in the aboce video inclusing the keyboard shortcuts.

The keyboard shortcut I use in the video are
Normal Mode:
WIN: Shift+Alt+N
MAC: Shift+Alt+N)

Clear Mode (eraser mode)
WIN: Shift+Alt+R
MAC: Shift+Option+R

You can find the full list of brush mode keyboard shortcuts on the Adobe website here It’s a long list so search the page for “Use for blending modes”

Facebooktwitterredditpinterestlinkedinmail
Posted on Leave a comment

Lisandro Trepeu

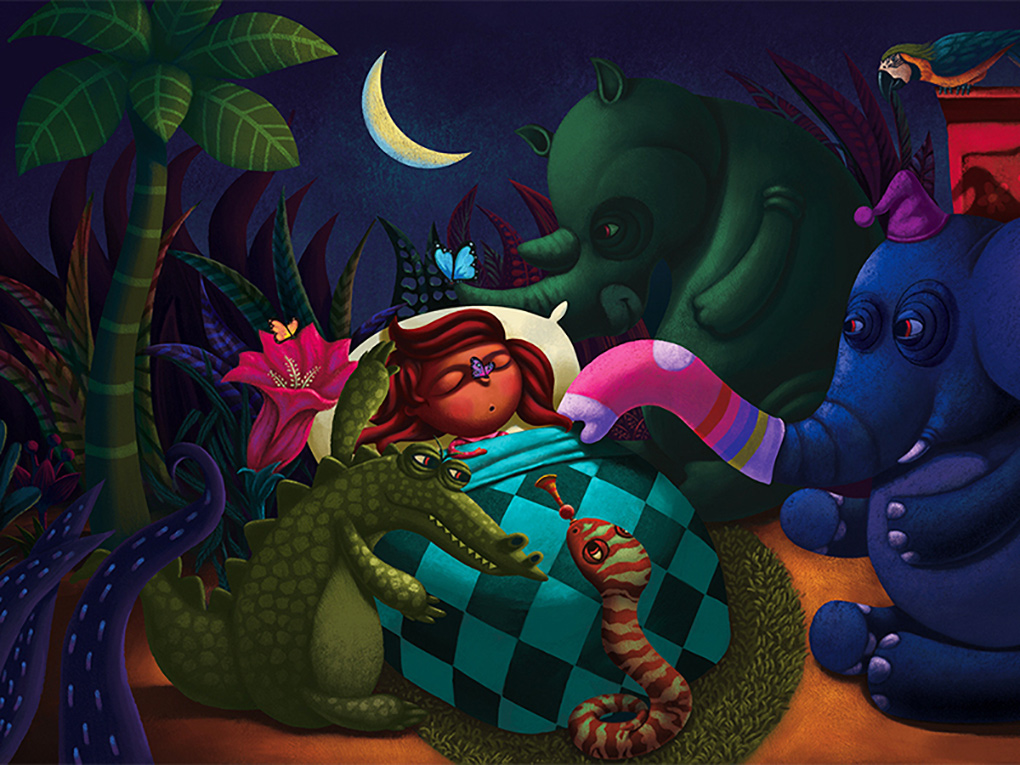
Digital Illustration by Lisandro Trepeu
Illustration by Lisandro Trepeu

This enchantingly beautiful illustration was lovingly painted in Photoshop by Lisandro Trepeu with the humble assistance of some GrutBrushes. I’m thrilled to add this to the gallery page today where Lisandro’s piece joins a growing list of wonderful work by talented artists and illustrators. You can see more of Lisandro Trepeu’s work on his Behance portfolio page here.

If you have work you created using GrutBrushes that you would like to share in the gallery or even just to show me what you’re working on, please don’t wait, send it to me today!

Facebooktwitterredditpinterestlinkedinmail
Posted on Leave a comment

Free Impasto Oil Brush

This week’s free Photoshop brush of the week (#120!!) is this creamy oil impasto brush “Butter Bits” These are my favourite types, I could smush digital paint around with these all day long.
Don’t forget there is also an excellent free impasto brush in the Sampler set (from the Photoshop oil impasto brush set)

Come back next week when there will be a brand new Photoshop brush to download.

Facebooktwitterredditpinterestlinkedinmail
Posted on Leave a comment

New to the Gallery – Herman Serrano

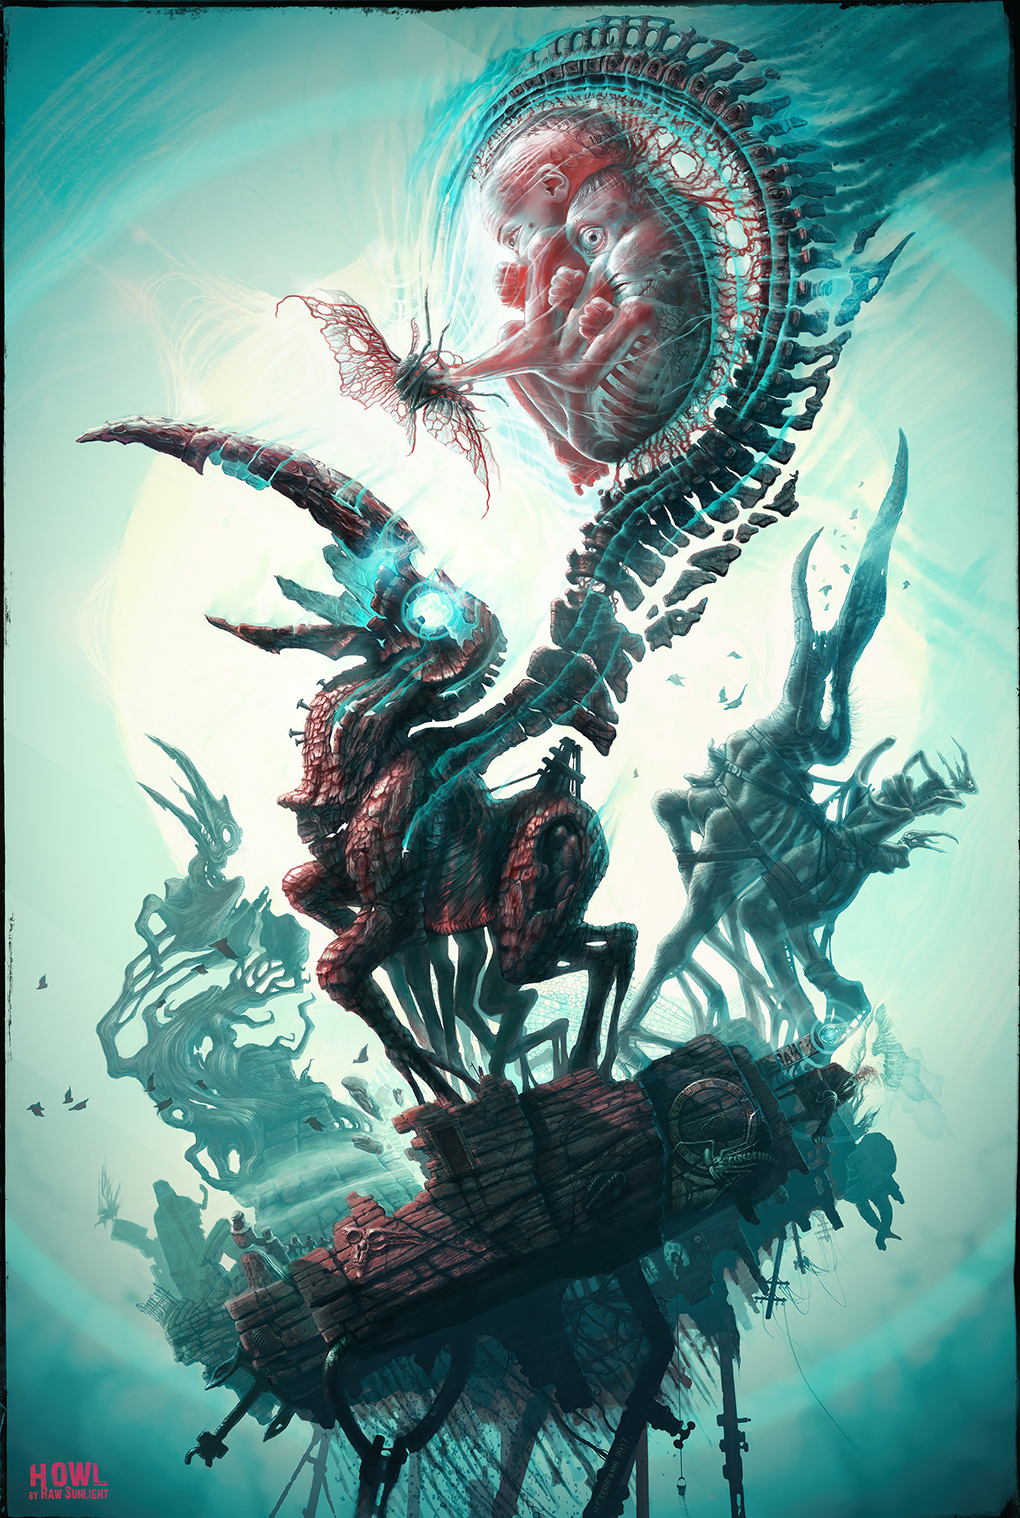
Digital Painting by Herman Serrano

When I saw what Herman Serrano was creating with my brushes I couldn’t wait to put it in the gallery. Stay tuned because he has graciously agreed to an interview about his truly amazing work. Until then I am delighted to add this piece to the growing gallery of artists using GrutBrushes. You can see more of Herman Serrano’s work here

Facebooktwitterredditpinterestlinkedinmail