Posted on 4 Comments

How to Scale a Photoshop Art Surface Paper texture to 600dpi

A customer told me that she always works in 600 dpi and wanted to put her artwork into an Art Surface and make sure it remained at 600 dpi so I made this video for her, showing two different ways to do it. There’s a text summary below the video

Method 1
Change the dpi to 600 dpi with resampling off (unchecked) Then paste your 600 dpi image into it (into the green ‘Artwork’ layer)
Then you can use the crop tool to increase your canvas size to any size you need and the background will magically fill in the paper texture seamlessly.
Continue reading How to Scale a Photoshop Art Surface Paper texture to 600dpi

Facebooktwitterredditpinterestlinkedinmail
Posted on 2 Comments

Adobe update breaks brush-to-eraser-tool hack Here’s a workaround

UPDATE 2020:  Simplest method of all…while painting, hold down the TILDE key: ` (usually at the top left of your keyboard while you are painting and your brush will turn into an eraser, with all the same properties, as long as you hold it down)

If, like me, you loved being able to select any tool (usually the eraser) and then pick from your most recent brushes to convert a paint brush to an eraser, or a mixer brush, or a smudge tool with all dynamic setting intact you can’t do this anymore with the latest Photoshop update (v 19) You can still use the clear mode trick to convert your brush to an eraser which I go over in the aboce video inclusing the keyboard shortcuts.

The keyboard shortcut I use in the video are
Normal Mode:
WIN: Shift+Alt+N
MAC: Shift+Alt+N)

Clear Mode (eraser mode)
WIN: Shift+Alt+R
MAC: Shift+Option+R

You can find the full list of brush mode keyboard shortcuts on the Adobe website here It’s a long list so search the page for “Use for blending modes”

Facebooktwitterredditpinterestlinkedinmail
Posted on Leave a comment

How to Install New brushes into Photoshop automatically using the plugin (Video Tutorial)

One click installation of Photoshop brushes into Photoshop

Buying the Artbrushes Photoshop brushes Set gives you a free two month  membership, which includes all new brushes published in the Shop for 60 days, if you are a Photoshop CC user and are using the GrutBrushes plugin you can install the newest brushes without even leaving Photoshop. This 30 second tutorial shows how it’s done.

Tips:

  • The Photoshop brushes are always listed in order of publication, with the newest one shown first.
  • If you can’t remember if you installed the newest Photoshop brush, Click install and the plugin will let you know if you have it already.
  • The web panel is slow to load, you may think nothing is happening but it should load within about 15 seconds (im trying to change this)
  • The red play button will pop up a video preview of the brush in action.
Facebooktwitterredditpinterestlinkedinmail
Posted on Leave a comment

How to Save Sets of GrutBrushes in the Photoshop Plugin

With version 1.2.1 of the GrutBrushes Photoshop plugin you can now save custom sets of brushes so that they don’t all have to be in one big set.  In this short video I show you how to create a new set and how to modify which Photoshop brushes it contains.

If you have the GrutBrushes plugin already, you can download the latest one from your account page. If you don’t have it yet, the GrutBrushes Photoshop plugin is free for Photoshop CC 214/15 and you can get it here.

Facebooktwitterredditpinterestlinkedinmail
Posted on Leave a comment

How to Install Photoshop Brushes to the Plugin via the Web

If you have an active GrutBrushes membership you can add and install brushes directly into Photoshop via the GrutBrushes plugin panel using the “New” button.
You may think that it is broken, but it is likely just slow to load. I’m very sorry about that, but with a bit of patience, it is fast once it loads up. This 45 second video shows you how it’s done.

If you don’t see the screen with all the brushes, you can navigate to it in the menu by going to My Account > Members Brush Portal

Facebooktwitterredditpinterestlinkedinmail
Posted on Leave a comment

Site is Teetering, but here’s a quick tutorial video.

http://grutbrushes.wistia.com/medias/5rs9l20dzn?embedType=async&videoFoam=true&videoWidth=1020

Normally I’d be announcing the free brush of the week today (Week #52…1 full Year or free brushes!), but I was waiting until some really serious website problems were resolved. That doesn’t seem to be happening so my post announcing the free sampler set of 10 brushes and tools (6+4) which I’m releasing as a “Pay What You Want” product (i.e. free!) is delayed.  While waiting for someone to help me fix it I made this quick video shows how to install them into Photoshop using the plugin. Come and download it at your own risk as the site seems to be in danger of going down at any moment but while it’s up, you can get them here

Facebooktwitterredditpinterestlinkedinmail
Posted on Leave a comment

Getting The Most out of Your Photoshop Brushes – Exploring The Low Pressure Range

http://grutbrushes.wistia.com/medias/lpubpnx945?embedType=async&videoFoam=true&videoWidth=1020

Sometimes people ask me which brush I used to do the shading in this painting and when I tell them it’s the ‘Ocean Liner‘ brush they usually don’t believe me and I really don’t blame them because this is the stroke most people get when they use the ocean liner brush:

Brush stroke with average pressure applied
Photoshop Brush stroke with average pressure applied

The fact is that most Photoshop brushes have a wide range of looks that you can get simply by varying the pressure of your stylus and sometimes you can find some of the most interesting effects at the very low end of the pressure scale.

By charging the brush size slightly from 20 to 45 pixels and stroking ever so lightly, and lifting my stylus between strokes (this part is important!) I can begin to build up this nice texture.

[baslider name=”lowstyluspressure”]

Now I probably wouldn’t set out to create this with this brush but the point is to not accept your brushes at face value. Experiment and investigate how they behave at the very lowest stylus pressure ranges and you may discover that they, like you, have hidden talents.


Facebooktwitterredditpinterestlinkedinmail
Posted on 2 Comments

Impasto Painting in Photoshop – Quick Tips 01

Here are a few quick tips to get you going with the Photoshop Impasto brushes

I will be doing a series of tutorials on how to use the GrutBrushes Photoshop Impasto brushes but this short video above shows a few brief tips.

To summarise:
– Vary your stylus pressure and use short strokes for a more organic look
– Use a flatter Photoshop brush to block in large areas
– Press softly on your stylus to blend or soften texture
– Push harder when you want more texture
– Use alt/option to pick colours from your painting

Brush Strokes and animated previews

Photoshop Impasto painting with GrutBrushes
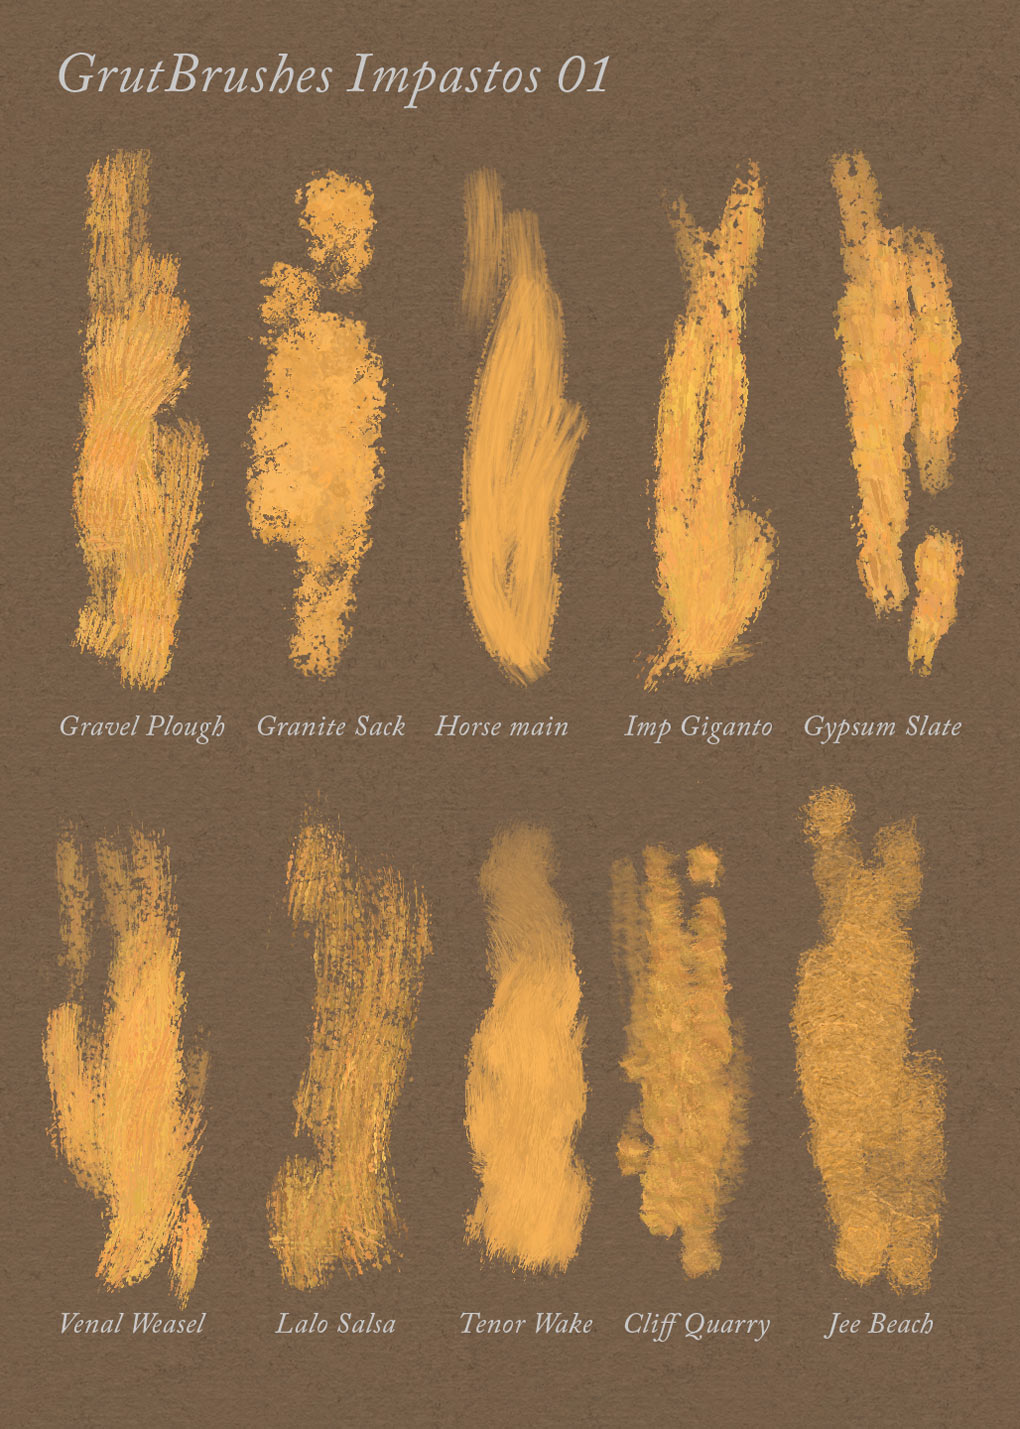
Impasto Brushes from Impastos 01

(Mouseover or tap the icons below to watch the Photoshop brushes drawing ‘live’!)

'Gravel Plough' Photoshop Impasto brush
‘Gravel Plough’ Photoshop Impasto brush
'Granite Sack' Photoshop Impasto brush

‘Granite Sack’ Photoshop Impasto brush
'Horse Main' Photoshop Impasto paint

‘Horse Main’ Photoshop Impasto brush
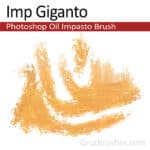
'Imp Giganto' Photoshop Impasto paint

‘Imp Giganto’ Photoshop Impasto brush
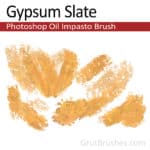
'Gypsum Slate' Photoshop Impasto brush

‘Gypsum Slate’ Photoshop Impasto brush
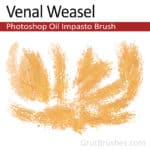
'Venal Weasel' Photoshop Impasto oil paint

‘Venal Weasel’ Photoshop Impasto oil brush
'Venal Weasel' Photoshop Impasto oil paint

‘Venal Weasel’ Photoshop Impasto oil brush
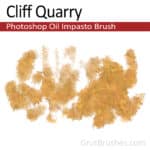
'Cliff Quarry' Photoshop Impasto oil paint

‘Cliff Quarry’ Photoshop Impasto oil brush
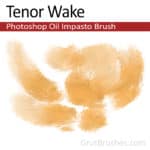
'Tenor Wake' Photoshop Impasto oil paint

”Tenor Wake’ Photoshop Impasto oil brush
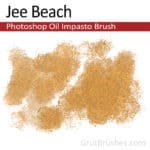
'Jee Beach' Photoshop Impasto oil paint

‘Jee Beach’ Photoshop Impasto oil brush
Facebooktwitterredditpinterestlinkedinmail