Posted on 2 Comments

Impasto Painting in Photoshop – Quick Tips 01

Here are a few quick tips to get you going with the Photoshop Impasto brushes

I will be doing a series of tutorials on how to use the GrutBrushes Photoshop Impasto brushes but this short video above shows a few brief tips.

To summarise:
– Vary your stylus pressure and use short strokes for a more organic look
– Use a flatter Photoshop brush to block in large areas
– Press softly on your stylus to blend or soften texture
– Push harder when you want more texture
– Use alt/option to pick colours from your painting

Brush Strokes and animated previews

Photoshop Impasto painting with GrutBrushes
Impasto Brushes from Impastos 01

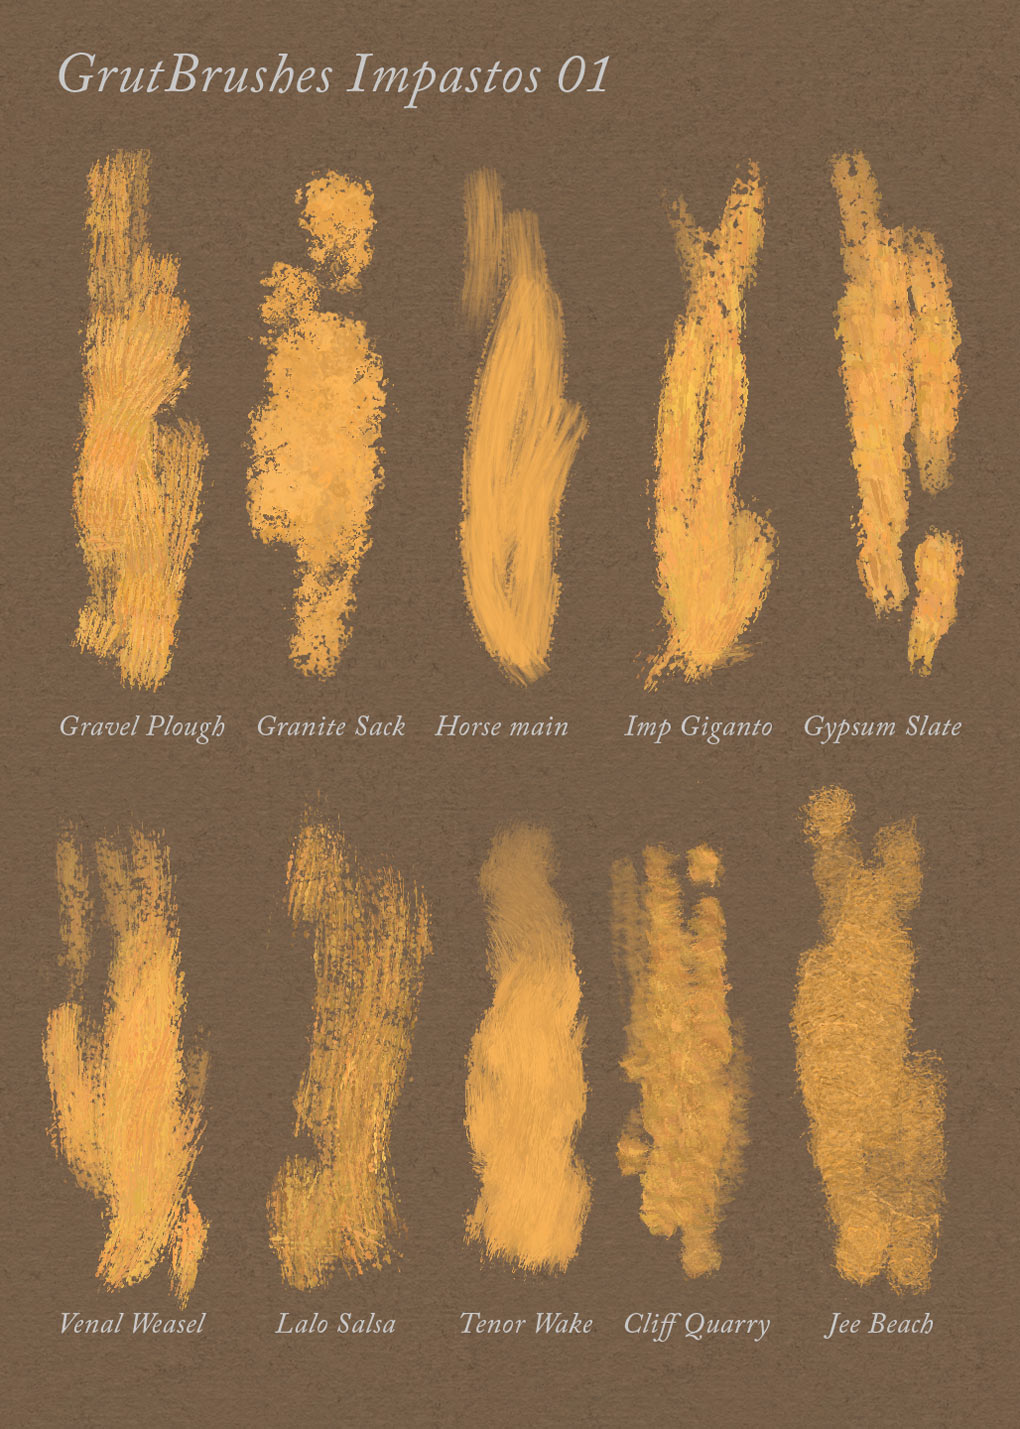
(Mouseover or tap the icons below to watch the Photoshop brushes drawing ‘live’!)

'Gravel Plough' Photoshop Impasto brush
‘Gravel Plough’ Photoshop Impasto brush
'Granite Sack' Photoshop Impasto brush

‘Granite Sack’ Photoshop Impasto brush
'Horse Main' Photoshop Impasto paint

‘Horse Main’ Photoshop Impasto brush
'Imp Giganto' Photoshop Impasto paint

‘Imp Giganto’ Photoshop Impasto brush
'Gypsum Slate' Photoshop Impasto brush

‘Gypsum Slate’ Photoshop Impasto brush
'Venal Weasel' Photoshop Impasto oil paint

‘Venal Weasel’ Photoshop Impasto oil brush
'Venal Weasel' Photoshop Impasto oil paint

‘Venal Weasel’ Photoshop Impasto oil brush
'Cliff Quarry' Photoshop Impasto oil paint

‘Cliff Quarry’ Photoshop Impasto oil brush
'Tenor Wake' Photoshop Impasto oil paint

”Tenor Wake’ Photoshop Impasto oil brush
'Jee Beach' Photoshop Impasto oil paint

‘Jee Beach’ Photoshop Impasto oil brush
Facebooktwitterredditpinterestlinkedinmail
Posted on 6 Comments

Q&A #01 – How to Make an Eraser out of a Photoshop Brush

How to make an eraser out of a brush in Photoshop

Q: George asked me in an email: “Is there any way to use these brushes as an eraser?”

A: Yes! If you’re painting or drawing in Photoshop using a brush that has a nice organic brush stroke and you want to correct or erase part of your painting using an eraser that has the same look and feel of your brush instead of the default Photoshop erasers there are a number of ways to do so in Photoshop.

Perhaps the easiest is to switch your brush mode from ‘normal’ to ‘clear’ which will essentially turn your current brush into an eraser, with all it’s settings in tact. But what if you have switched brushes or recently changed the settings of your brushes and want to go back to a previous brush? There’s an easy way to do that as well. With your eraser tool selected, just open the brush preset panel and you will see the history of the last seven brushes you used in order. Simply select the one you want to use and your eraser now takes on almost all the properties of that brush.

See how it’s done in this 45 second video:

Facebooktwitterredditpinterestlinkedinmail
Posted on Leave a comment

Install the Free Photoshop Brush of the Week without Leaving Photoshop

If you are a Photoshop CC 2014 or 2015 user you can use the GrutBrushes plugin to install the free Photoshop brush of the week directly into your tool preset panel and GrutBrushes panel without ever leaving Photoshop!

installing free photoshop brush of the week using the grutbrushes artist toolset brush plugin

Instead of clicking on the “Add” brush button to add brushes from your local computer, click on the “New” brush button to add brushes from the web.  In the window that opens, navigate to the Free Photoshop brush of the week page and as long as you are logged in (signing up is free) you will see the orange download button, click on it and watch as this week’s free GrutBrush magically downloads, installs, and appears right in your GrutBrushes plugin panel.

Members get to do this with every brush in the shop via the brush portal page so, join as a member or feel free to just keep downloading the free brushes.

plugin:
grutbrushes.com/plugin
Free Photoshop brush of the week:
grutbrushes.com/freebrush

Facebooktwitterredditpinterestlinkedinmail
Posted on Leave a comment

Painting With Your on-Screen Palette in Photoshop

One of the great things about digital painting is that your canvas can be your palette. By holding down the ALT or Option key in Photoshop you can pick a new color from your current painting’s canvas and continue on. Here you can see me travel a tremendous distance from light to dark just by picking a new darker color from the crevices of my previous impasto brush strokes in Photoshop. This was painted using the new Linsee Dew Photoshop Impasto Oil brush

Facebooktwitterredditpinterestlinkedinmail
Posted on 4 Comments

Add LightSabers to Photos with the Lightsaber Photoshop Brushes

how to add lightsabers to photos in photoshop with free Photoshop lightsaber brushes
add lightsabers to photos in photoshop with Photoshop brushes

Relive your memories of a night out with friends as a glorious Lightsaber battle instead by adding Lightsabers to all your photos in just a few clicks with these free Photoshop brushes. Use the hashtag #drinksaber so that I can find your creations!

Continue reading Add LightSabers to Photos with the Lightsaber Photoshop Brushes

Facebooktwitterredditpinterestlinkedinmail