
Coming to the brush shop soon…
So Konwet, the latest ink brush in the store is a runny ink brush with an edge that bleeds as if you are drawing on a wet paper towel. A variable sized allows you to do fairly detailed work at low pressure but the brush really excels at broad gestural drawing.
(sorry this offer has expired)
This brush is included in the Art Brushes Complete set
I’ve put a new Photoshop watercolour brush in the shop today and I’m giving it away for free until this weekend! (expired) Continue reading “Dodo Stroke” – New Watercolor Brush
Here’s another oil brush. I really must put the oils together in a collection. This one has a jagged flower petal pattern shaped brush stroke. It’s a fairly wet diluted brush that can be built up to an opaque coverage. The diluted flow makes blending the surrounding tones together really easy.
This brush is used to best effect by going over and re-working an area to diminish the appearance of the individual strokes and blend the areas together. The distinctive pattern it produces when drawn in a line can be overpowering when not blended but really works to your advantage when re-working an area over a few times as the visible brush strokes maintain a painterly appearance and reduce the likelihood of all the strokes blending together too much and becoming a mushy blur so common with overuse of blender brush tools. If used sparingly you will always be able to maintain the visible strokes that will give your painting an impressionistic and organic feel.
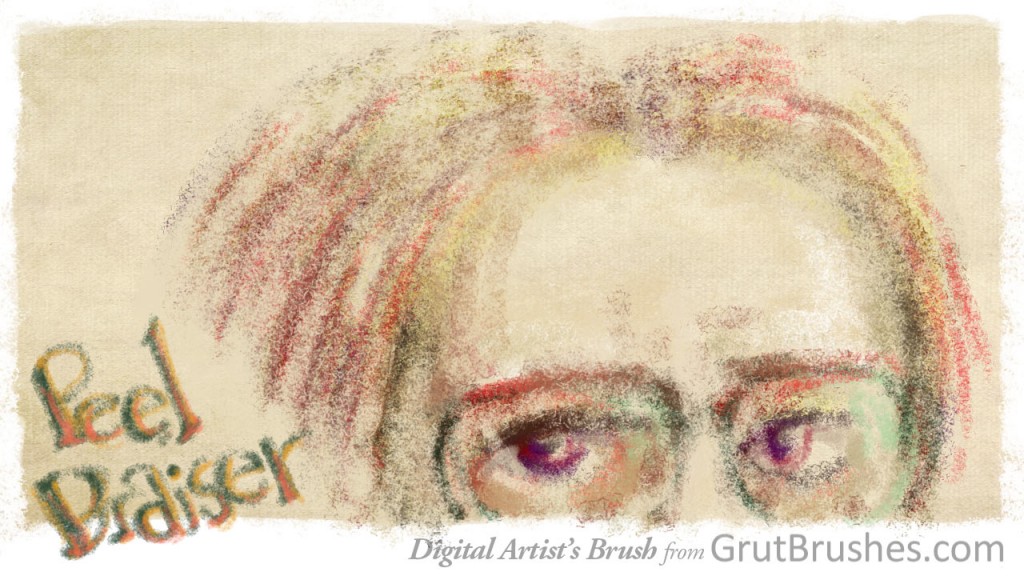
I hope to do a tutorial on how to best accentuate the oil painting look including adding a canvas texture but for now I’ll just say, paint on an Overlay layer and your background is important. If you watch the video at the bottom of this page, you can see that I paint most of it on an overlay layer, so that the canvas texture shows through the paint. Later, towards the end, I start painting on a normal layer, though with a light touch, to add a more opaque layer of paint in certain areas.

When I tell people about Grutbrushes they often say “Oh yes, I see tons of watercolor brushes on the web” Chances are they’ve seen the stencil type brushes that are made from a scan of one brush stroke that you can then stamp onto your image. You can achieve some fantastic results with those brushes if used sparingly but the big difference, and it really is big, is that Grutbrushes are dynamic and respond to the speed, pressure and motion of your stylus on your tablet allowing you to actually paint with them and achieve organic lines that resemble traditional media. This video shows a side by side comparison between the free stencil type brushes found all over the net and Grutbrushes pressure responsive watercolour brushes made for digital artists. If you haven’t already, you can download a free watercolor brush here to try it out for yourself.
Rabbit drawing done with “Desk inspector ” Photoshop ink brush from Nicolai on Vimeo.
This charcoal or chalk brush is more flexible and fungible than some of the more recent brushes in that it is has a very soft fingerprint at low pressure. With a single stroke you get very light coverage which makes shading easy as you can easily control the amount of colour and by building it up with multiple stokes it’s possible to create areas of light colour blend into very dark sections without visible brush strokes. This maintains a sharp texture like you would have with chalk or charcoal on heavy textured paper without the smudginess that you would get using a stump or tortillion in traditional media.
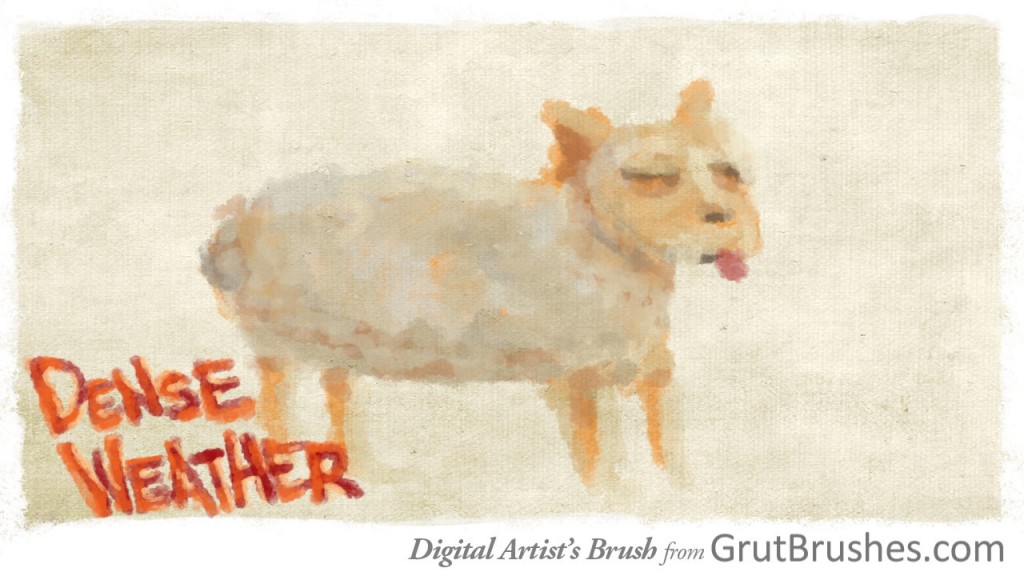
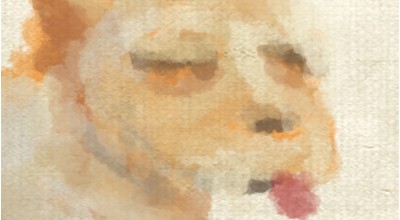
Watercolor in Photoshop can be just as tricky as real watercolor and some of the same techniques apply. A little forethought can go a long way as digital paint ‘dries’ when you lift your pen so ideally you want to do one contiguous area in one unbroken brush stroke. Don’t lift the stylus from the tablet and be prepared that each subsequent stroke will give you a darker colour (see the hair in the top left) due to the multiply effect. Think of it as laying down multiple layers of coloured plastic sheets – the areas where they overlap will be darker and you will see the seams.
This sketch actually took about 3 minutes and is sped up a lot, but it’s all Photoshop. Painted with the free Cherry Pectin watercolour brush found here: grutbrushes.com/free-realistic-photoshop-watercolor-brush/
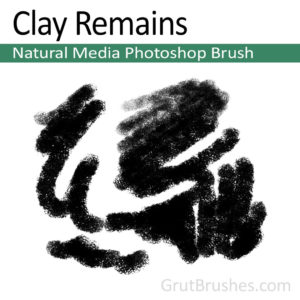
“Clay Remains” is a companion to the recently added “Tailors Mane” pastel brush. Similar in tone but thicker in coverage and more powdery at light pressure. If you push lightly it has a bit of a blender effect, a bit like rubbing the page with you finger.
This is what it’s like to draw with the Clay Remains Photoshop Brush:
$1.00Add to cart
[/twocol_one_last]